This is my first time of making a modification to a keyboard. In fact, I done
it to my first mechanical keyboard ever! The reason I want to do this is
because I'm not happy with the sound this keyboard made when typing. The sound
can sometimes be heard from outside the room so I want to make it quieter. Of
course, I was afraid of making my keyboard worse because lubing isn't
something that can be understood so easily by a newbie. But I thought, if I'm
not going to try it now, then I'll never be able to find out whether I could
actually do it or not
(lol wish I could apply this trait of me in life all the time T.T) . I saw some videos of people lubing their keyboard and I'm so amazed
by the clear sound difference of before and after lubing. Thanks to YouTubers
and Reddit users who made all those tutorials, I'm able to collect a few
knowledges and convinced to proceed with this little project.
At first, I thought about documenting everything in a video because it's my
first time but I was too focus to finish the lubing. I do have a few pictures
and videos so.. yay...
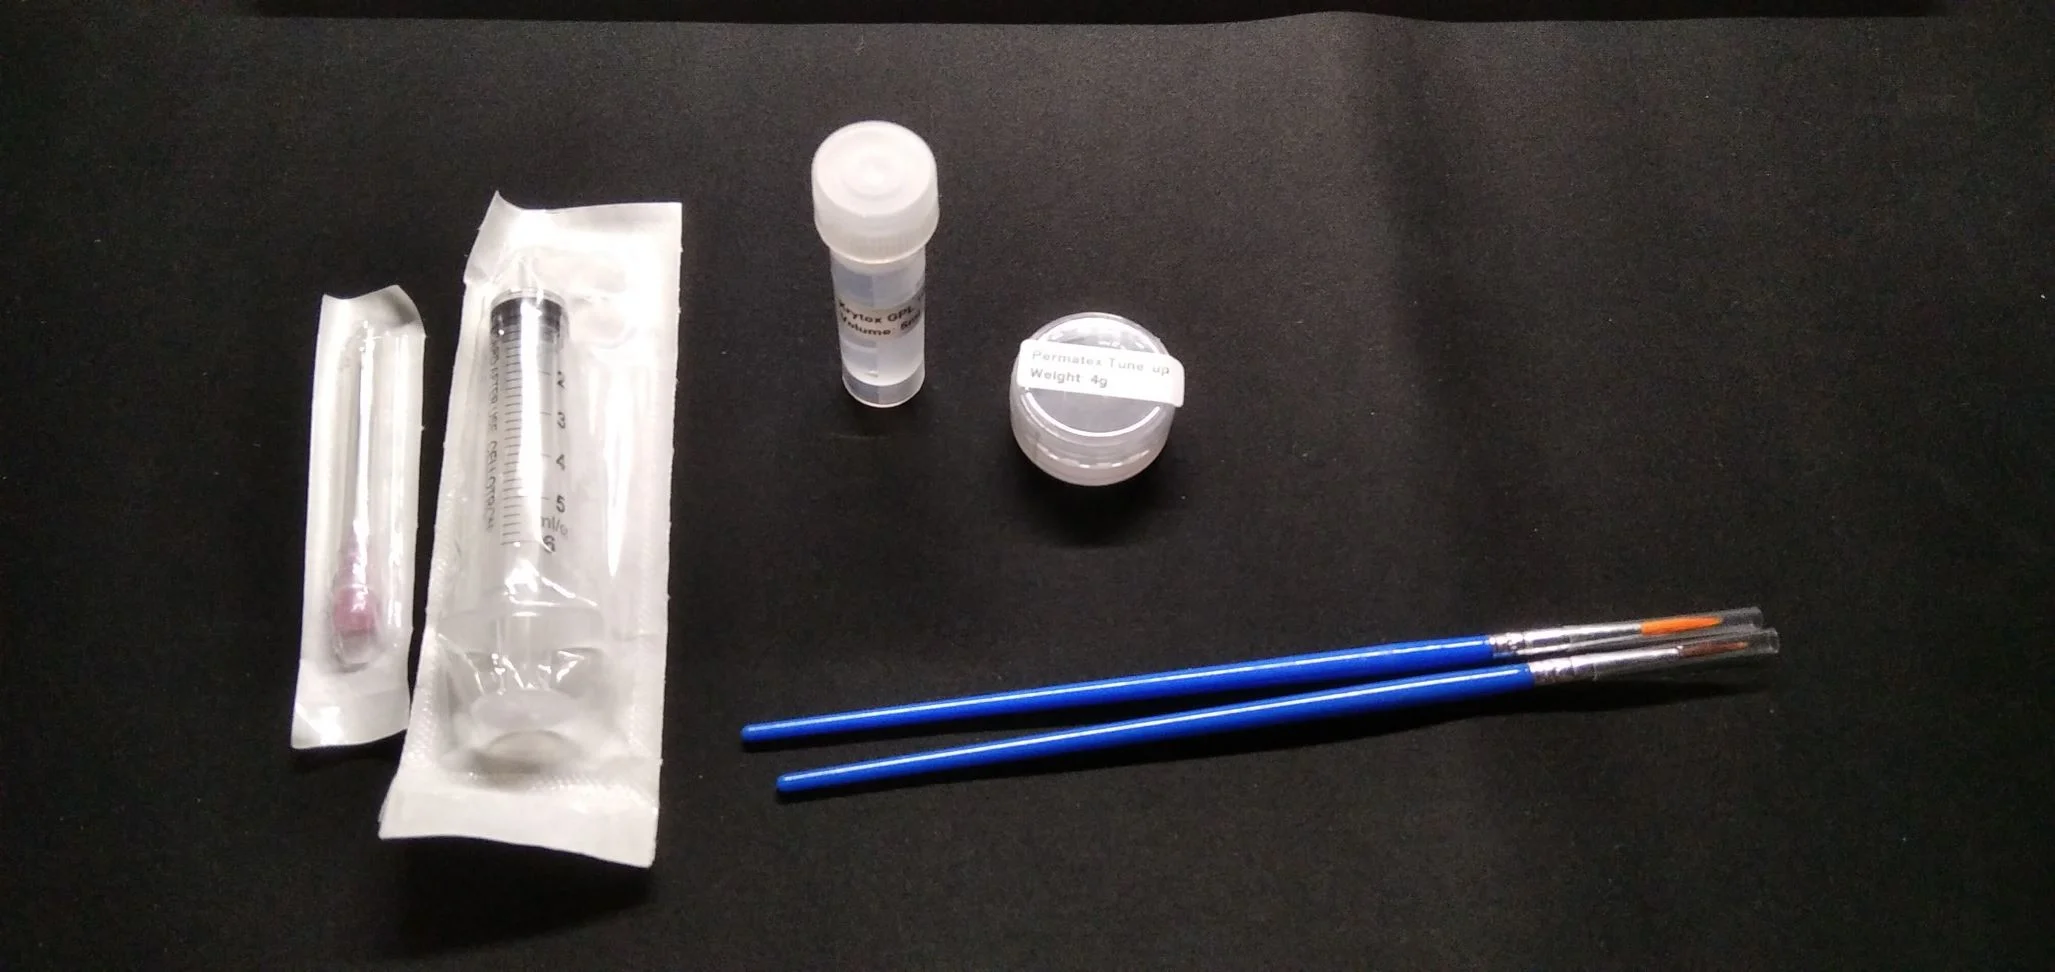
What I have here are: Krytox 105 lubricating oil and Permatex dielectric
tune-up grease. I bought the repacked ones, so it's much cheaper and worth it
for one-time use. Because my keyboard switch is brown switch (not
Cherry MX), I read it online that Krytox 105 is the best for beginners. As for
the dielectric grease, I chose that because it's the only thing that the shop
I bought from got. Then I have 2 brushes, a 5 ml luer-slip syringe and a 18
gauge needle. It was supposedly 18 gauge BLUNT NEEDLE but I cannot find it so
I ended up buying the one that is used for medical. Another thing that I use
but not in the photo are sound dampener foam and o-ring dampener.
The very first thing I do is putting 2 o-rings under the keycaps. I tried
putting only 1 and 3 but using 2 produce the best result for me. With 1, you
can barely hear any difference. With 3, although it's quieter than 2, the
typing feeling is super bad. Not recommended.
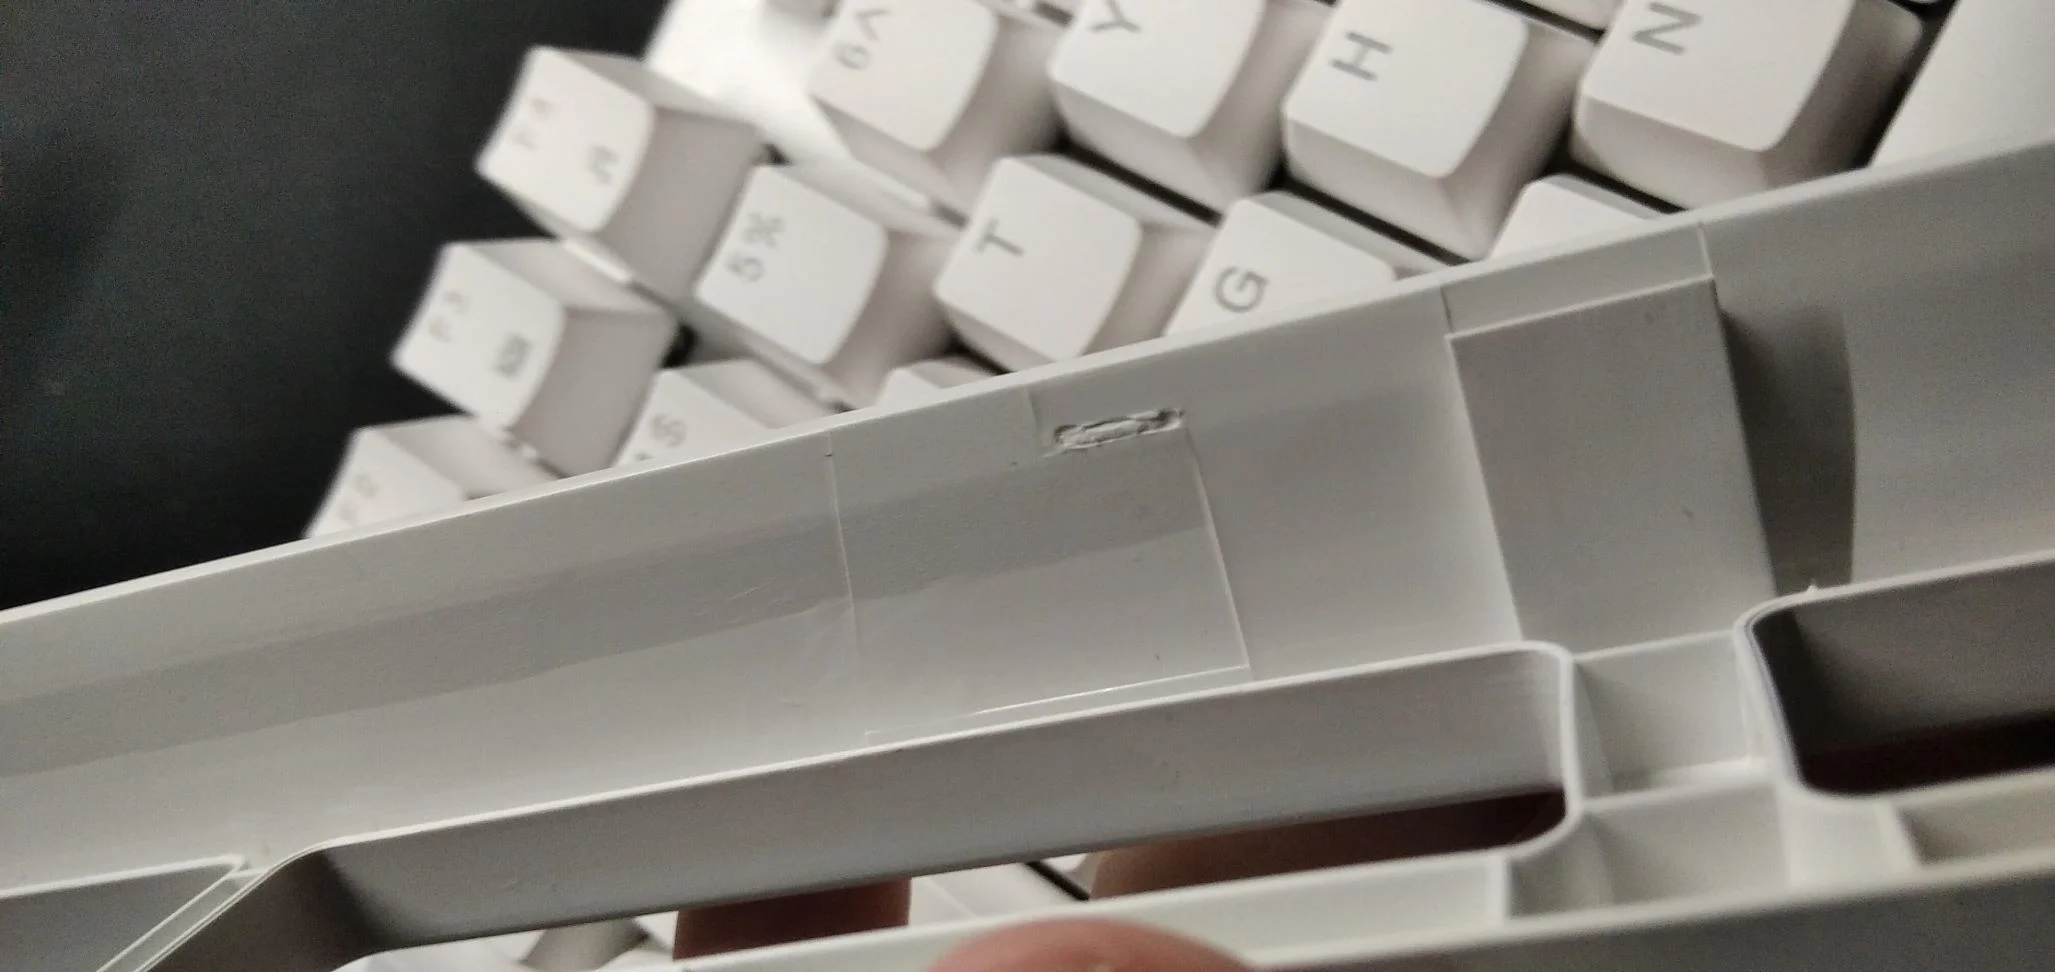
And then, here we comes to the hardest part. Getting the top cover open! I
don't record anything because it was such a mess! After a few minutes of
trying to get it open, I started to lose my patience and use tremendous force
to pry it open. As the result of my impatience, I broke 2 of these things that
hold the top and bottom cover together. Thankfully, the damage isn't that
serious because there are 4 of those things still intact.
After managed to get the cover open, I disconnect the wire that connects to
the board and start to prepare myself for lubing. At the time I'm doing it,
this is the scariest part for me. Any mistake could make my switch damage. I
tried to be careful not to overlube the switch and pray to the God nothing is
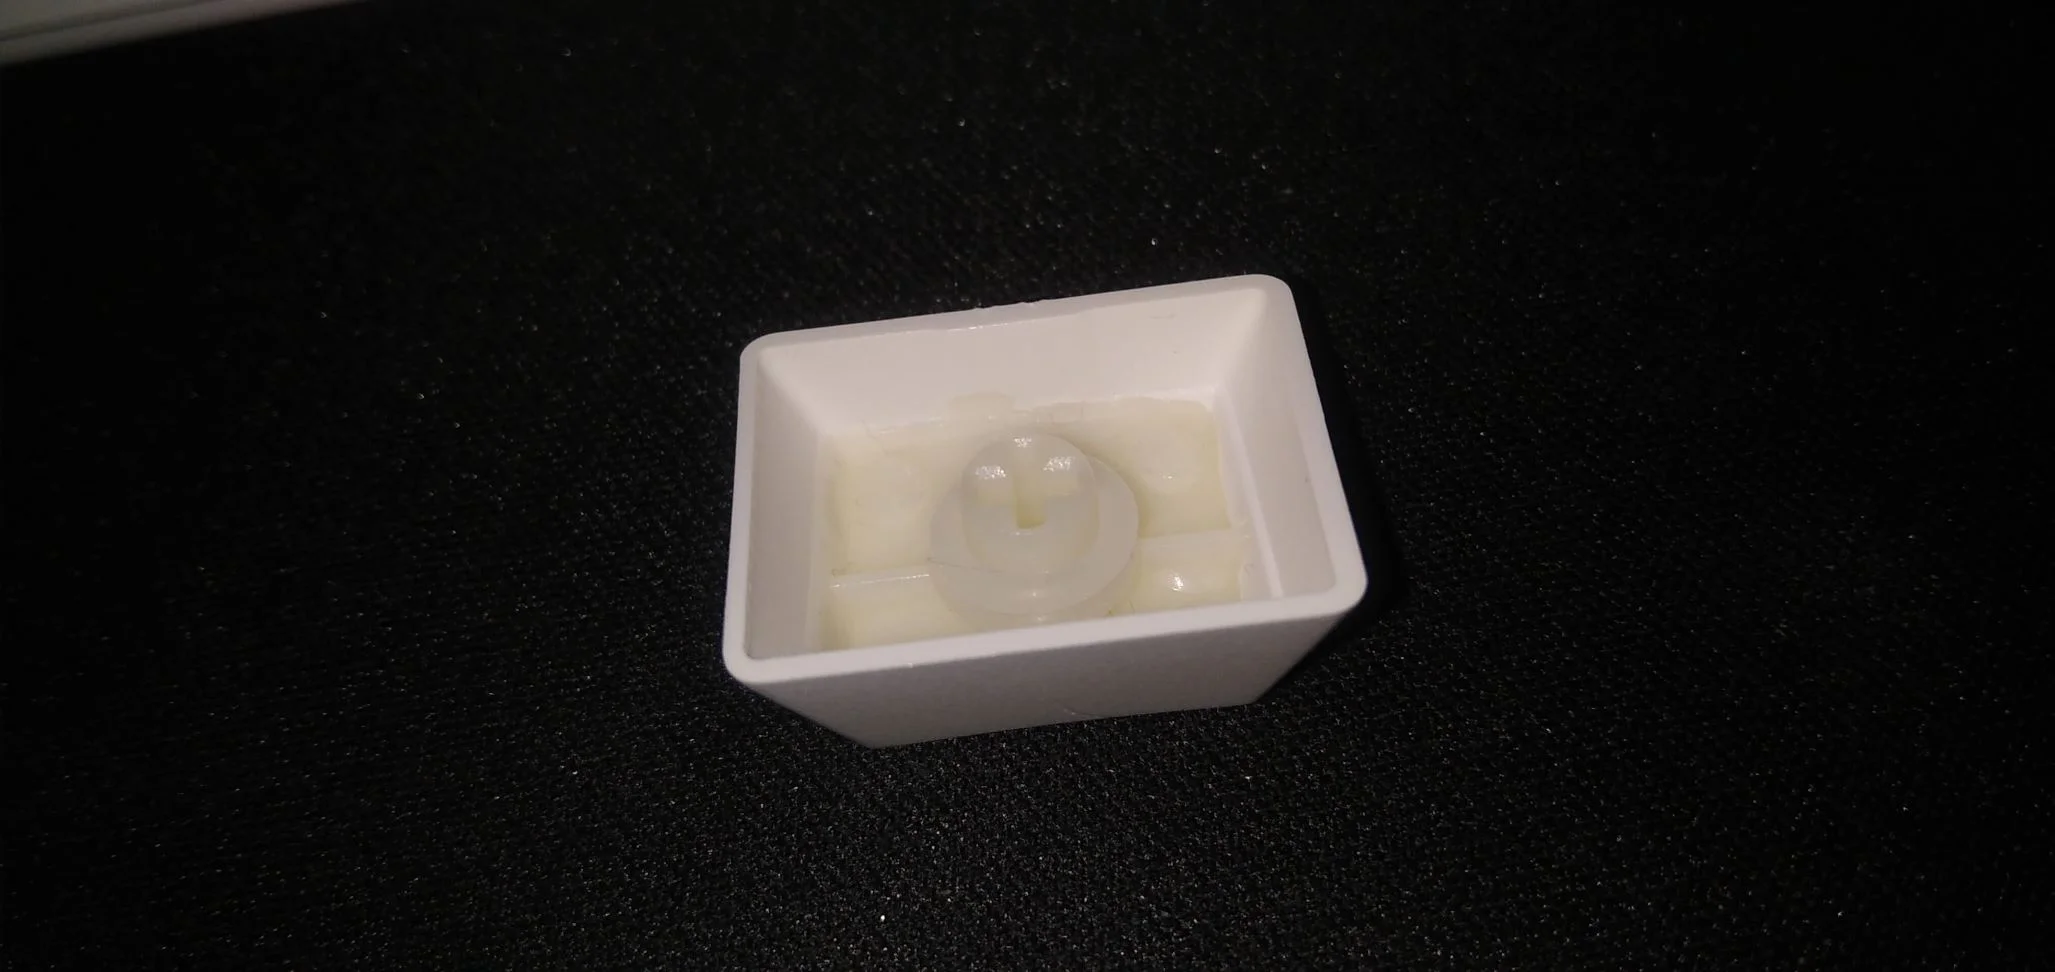
damage. The first thing I lube is the stabilizers. By using a thin paint
brush, I put some dielectric grease on it. No photo because again, it's quite
a mess. This is because I was suppose to use INTERDENTAL BRUSH for this but
because the shop I bought all my things from doesn't have it, I use a paint
brush. Although it's thin, I stil think it's not thin enough so it's a bit
hard to get the grease in there.
When the stabilizers are done, I started to lube the switches with Krytox 105.
For this, I had to be super careful. I thought it would be easy to drop those
oils from a syringe but it turns out, it's quite hard to control the amount of
oil coming through the needle. Probably it's because I'm using the medical
syringe and needle. Maybe. After lubing a few switches, I made a sound test to
see if there's any difference or not. When I feel the difference, I proceed
until the last switch.
When everything is done, it's the moment of truth. I reconnect the wire to the
board, turn it on and start testing it with Switch Hitter. THANK GOD ALL THE
KEYS WORK PERFECTLY!
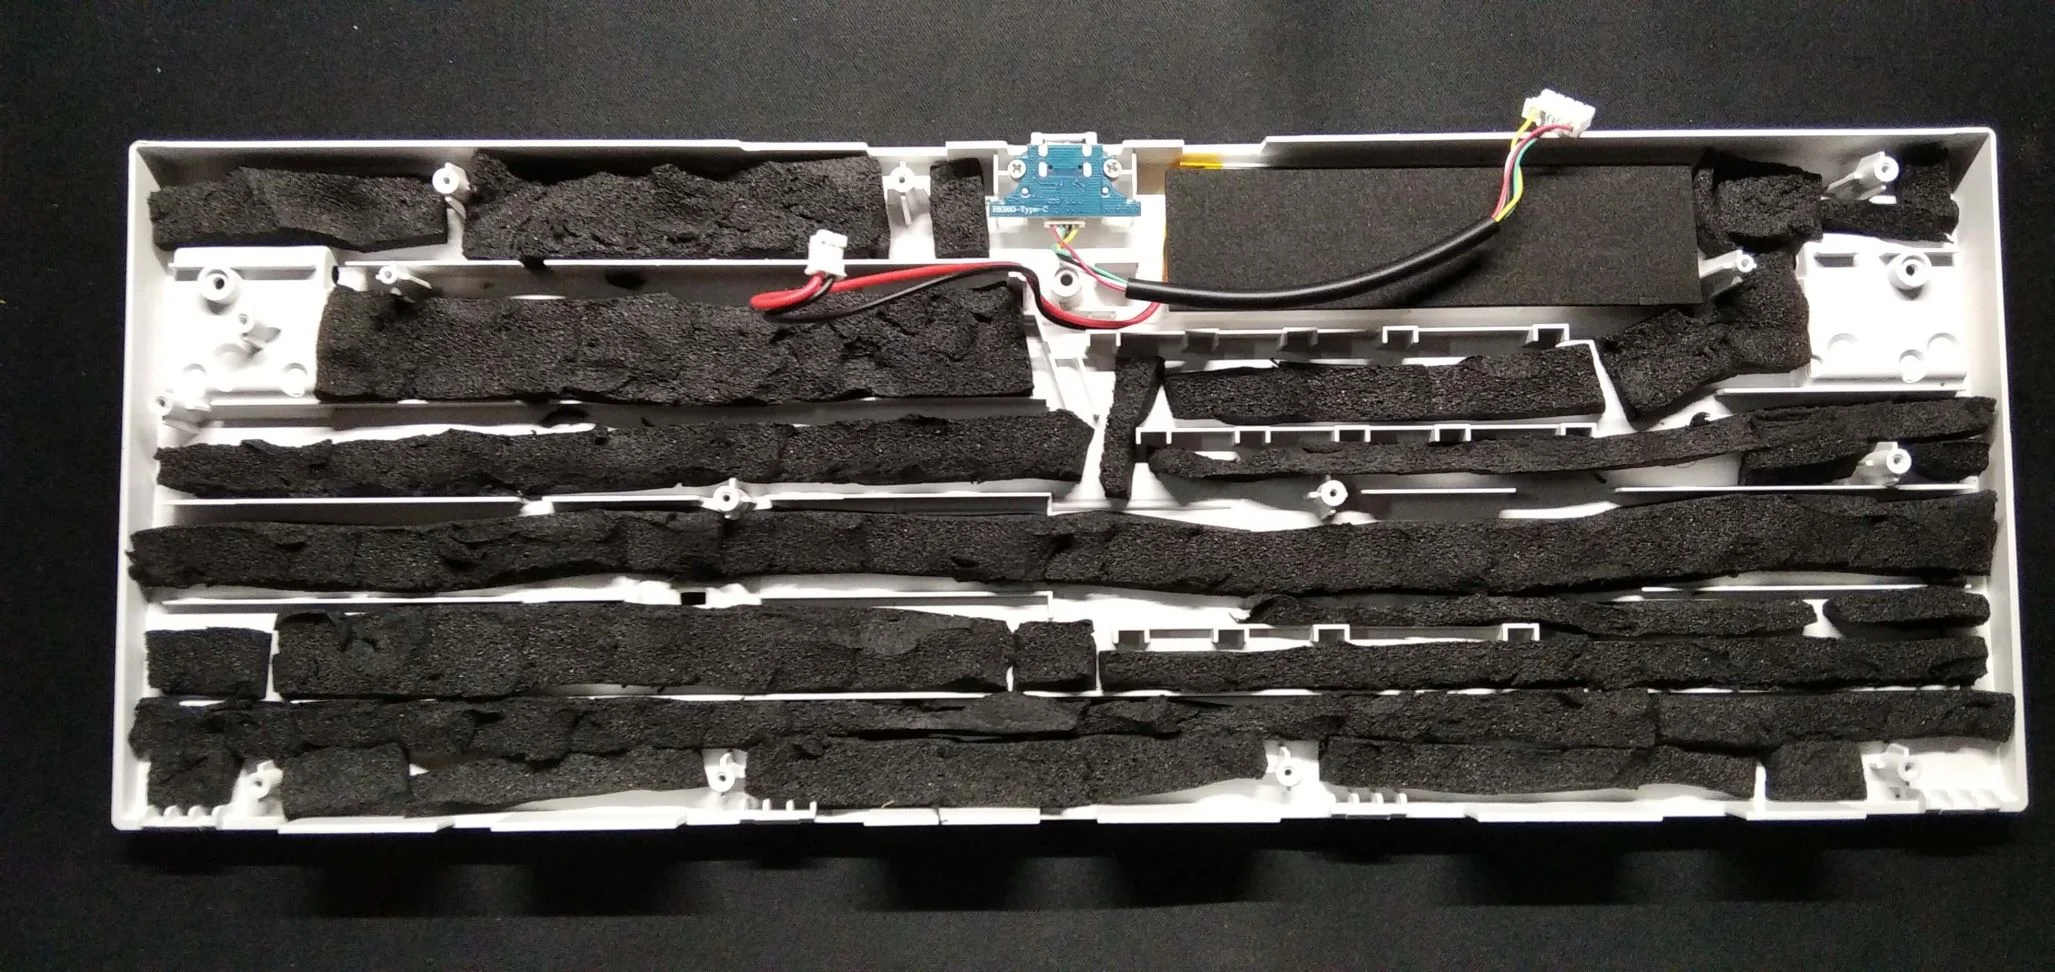
Before putting everything back together, I fill the case with some sound
dampening foam. I use a foam for automotive and studio use, the one that’s
egg-shaped, that’s why it looks ugly like that. Really not recommend to use
it. In fact, use an EVA foam with thickness between 3-6mm. The one I use is 1
cm so I have to trim it.
And the result?
Very satisfying! cries
Sorry for the bad quality video because I only have a potato phone. The
microphone (earpod microphone) is placed at the same place which is beside the
keyboard. The switch feel soooo smooth and it’s quieter. But if you look
carefully, the LED lights up longer after each pressed after it’s lubbed. It’s
not really a big deal, just that I prefer when it lights up shorter.
So, that’s it! I did it! Really worth the risk I must say. But because having
a smoother and quieter keyboard is more of a personal preference and will void
your keyboard warranty, I 8⁄10 would recommend everyone to lube their
keyboard. If anyone wants to try it out to their brown switch keyboard, you
can purchase some of the things I use from the shop I linked below. For a 87
keys keyboard, 2 ml dielectric grease and 4 ml oil should be more than enough
for one-time use!
Links:
Disassemble, foaming and lubing reference:
YouTube
Lubing with syringe method reference:
Reddit
Shop:
keys.my
No comments:
Post a Comment